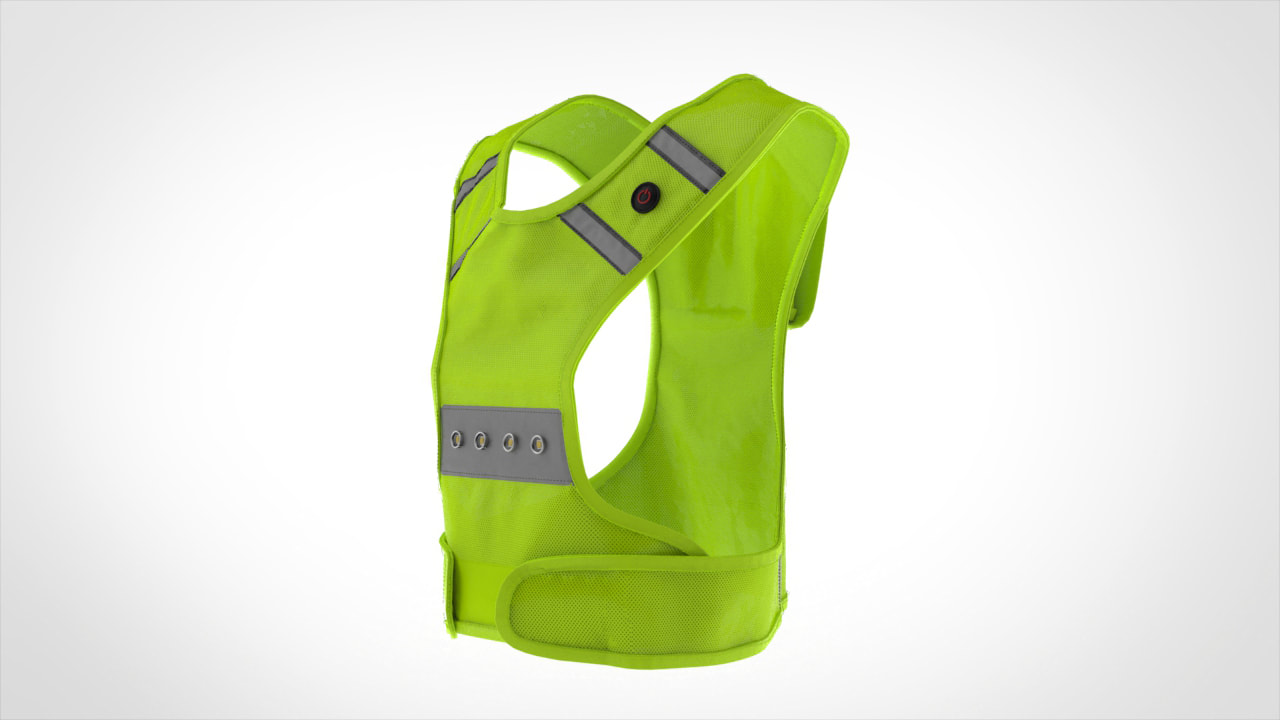
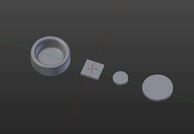
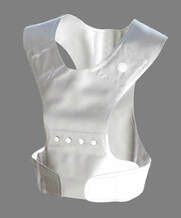
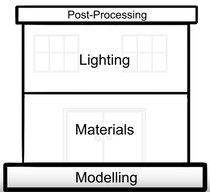
 Getting to Today I launched Fireflyline in 2015 with the goal to streamline the product development process. 3D prototypes are serving us well to help clients develop the best products with minimal sampling and improve fit. 3D has become integral to the patternmaking process at Fireflyline. Basic 3D virtual prototypes allow our clients to get an initial idea if their designs are working as desired. Clients appreciate the chance to review and make adjustments before proceeding with physical samples. The design process is iterative and changes are natural. Using 3D has allowed us to move up the stage at which changes are made within the development cycle. Along the way the software we used improved and so have our skills. The virtual prototypes are looking more and more like the physical prototype. We have reached a point where the 3D digital prototype can be used as basic product photography for most apparel types. I use EFI/Optitex software for the bulk of the work to model clothing. When Fireflyline launched Optitex was on Version 15. Last fall we updated to Version 18. During that time the ability to add accurate stitching, use multiple fabric layers without layers colliding, and the accuracy of the fabric shaders/textures has all improved dramatically. Competitive software suppliers such as Browzwear and Clo3D have also made improvements during the same time period. We also stepped out of (or beyond) Optitex for some projects. Working entirely in Optitex for efficiency of development makes complete sense and streamlines the workflow. Yet, for certain projects I wanted more control over the shaders/textures, lighting, and animation. I have been using Keyshot to render models created in Optitex for select projects. There are numerous pros and cons but overall, I like the tool and the results. We also use traditional 3D modeling software to model rigid trims. Keyshot then allows us to realistically render plastics, metal, painted surfaces, and glass. The Ikea catalog is primarily composed of 3D images and has been for several years. There is really no reason why apparel companies can’t do the same for many uses. Majority of e-commerce websites now show the garment without a model for the primary shot. Building Blocks to Photorealism Most apparel companies are approaching 3D as a one stop shop. They purchase software from a single provider and expect the tool to take them from start to finish. The wisest companies realize they need a suite of tools and a variety of skill sets using those tools. I love this image featured in this video by Blender Guru depicting the four building blocks to photorealism. Creating the model of the garment takes the bulk of my time, but accurate materials and lighting are critical to realistic images. The 3D model is only the groundwork for achieving photorealism. Let’s walk through the steps used to create client Constantia Gear’s Disco vest. The lights and power button were modeled in Blender, a traditional 3D modeling software. Each component of the lights is created so that a separate material can be applied to each later. The 2D vest pattern is digitally stitched in Optitex. The hard trims are placed on the model in Optitex. The model is exported from Optitex into Keyshot. Each component of the vest has a material assigned. Colors and shaders are adjusted to accurately represent the physical materials. The appropriate lighting and environment are selected in Keyshot. In this case an indoor studio scenario was used. The lighting used for the 3D image should match the type of lighting a photographer would select for the same scenario. I never complete all steps at once. I’ll finish the model, step away awhile, and then return to do a quality check before exporting and rendering. I often come up with solutions to difficulties while I’m away from the 3D process. Innovation is hard. Not everything works. I spend a crazy amount of time experimenting. Software support staff have been great to offer suggestions to difficulties. But we are sometimes pushing the boundaries of what the software is currently capable of achieving. During this process I’m exchanging images with the client for feedback to achieve exactly what they want. Clients need to advise how they want the garment styled and the type of images they desire. (Note, the software I use at Fireflyline might not be the best selection for everyone. There are a lot of software tools available and some will work better in combination than others. If you are exploring the 3D process, look for the options that work best for you.) Are We There Yet
Have we reached photorealism? Not by my standards, but I’m my toughest critic. However, I think we have reached a point where the average consumer believes the image is the actual product. I wouldn’t currently try to replace lifestyle photography with 3D images, but for ghost photography or shots on a mannequin, 3D digital creations can be realistic. Lighting and shaders/textures look better with every experiment. There are software options available to scan or photograph actual materials to create shaders such as Vizoo and Materialize. I also experiment with altering and combining existing shaders to achieve the correct appearance. Styling the garments can be difficult. Stylists on photoshoots can pin and tweak the appearance of a garment in ways we can’t do in 3D. I cannot quickly switch between buttoned vs unbuttoned, hood up vs hood down, cuffed vs uncuffed. Those options require two completely different 3D models. Using 3D prototypes requires communication, just like the photography process. Communicating with stylists and photographers to plan a shoot requires a shot list, examples of how the product should be styled, and ideas of the mood you want to create. All the same information is required to create a 3D rendered image that you will like. Do not embark down the road of using 3D digital creation to replace photography with the goal of saving time on communication. Advantages Creating a single colorway in 3D may not offer a huge advantage over ghost photography. However, the savings will increase dramatically if there are multiple colors and fabrics planned for a single product. Ghost photography requires multiple photos be taken and several steps in post production. Generally, this must be done for every color. Adding additional colors in 3D is handled in a matter of minutes. Instead of taking new photos of a physical sample and going through the post processing steps again, I can change the RGB codes of the materials and render the new image. If you add a second fabric, the process is similar. As long as the material drapes the same, we only need to change the texture of the render. This can be time consuming a first, but as a library of materials is established the process becomes more efficient. Road Blocks to Progress I would love to see more open communication among those using 3D prototypes for apparel. The problem is usually I and others are working on styles that will not launch for six to twelve months. We cannot share the 3D prototypes with the public until the product launches and by the time we can our capabilities have expanded. I do not want to showcase what I could do six months ago. I want potential clients to see what can be done today. Majority of the images we create for marketing purposes are solely for that purpose, which is additional work. Companies are also hesitant to share because they feel what they have learned and their workflow is a competitive advantage. Fireflyline is in a unique situation because our clients come to us so they do not have to learn new skills or to get up and running in 3D faster. We also do not hesitate to share those skills with corporate clients because doing so builds strong relationships. Unlike many software systems with loads of users there is not a large user community with forums to ask questions and exchange information with peers. Peers, if you are out there and working in 3D for apparel development, please connect!
0 Comments
Leave a Reply. |
